I have been using a regular backdrop stand for years, however, I spend too much time in photoshop smoothing out wrinkles in my blankets. There was a smart photographer somewhere on the globe that thought of making a backdrop stand out of plumbing pipes. This is genius! It means that we can now clamp our backdrops to the sides, as well as the top. The result is a smooth blanket. As smooth as the baby's bottom, so the saying goes. And it saves much time in photoshop. When I wanted to do this, I searched for a tutorial and I could only find American ones. American's stipulate measurements in inches and they also have different suppliers (cheaper suppliers!) So I thought I would write a tutorial for any Australians (or perhaps New Zealanders) that want to give this a go. I am so thrilled I finally did this and I can't wait to use it.
This tutorial will fit the shoot baby beanbag, found here.
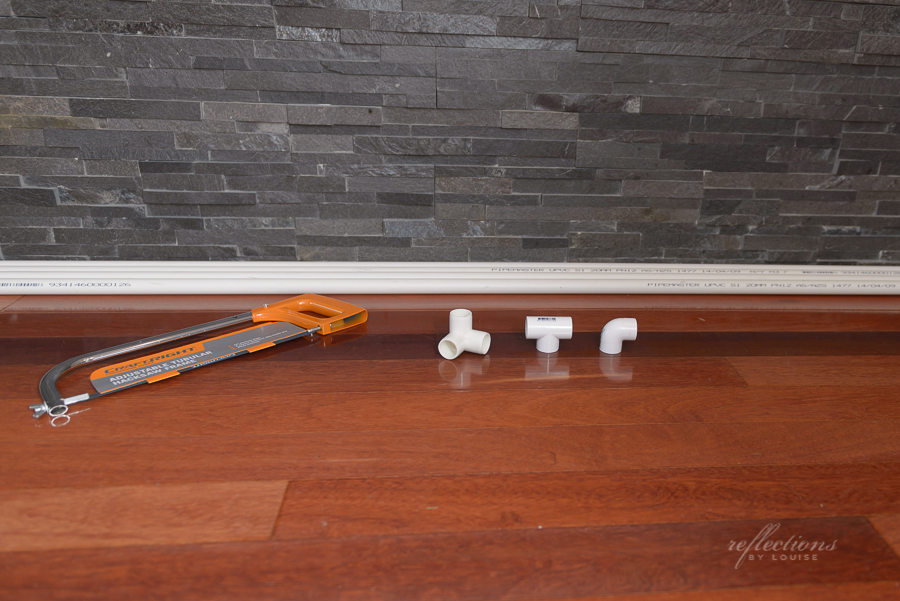
What you will need: 4 x 20mm diameter 3m long plumbing PVC pipe - I got these from Bunnings. They were $4.79 each. 4 x right angle 20mm 90 degree PVC corners - They are $0.99 each at Bunnings 2 x 20mm PVC tees - They are $1.45 each at Bunnings 4 x 20mm Corner PVC pieces - I couldn't find these in Bunnings, Masters or the plumbing speciality shops. Instead, I found them on ebay. Unfortunately, this meant that I paid $15.30, including delivery for all four.
You will need a pencil, tape measure and a hack saw. If you have some sort of amazing electric saw that can do all pipe cuts at once…even better. You'll get this done in no time. If you only have the minimal tools, that's ok, you'll still manage. This is a picture of the materials you need.
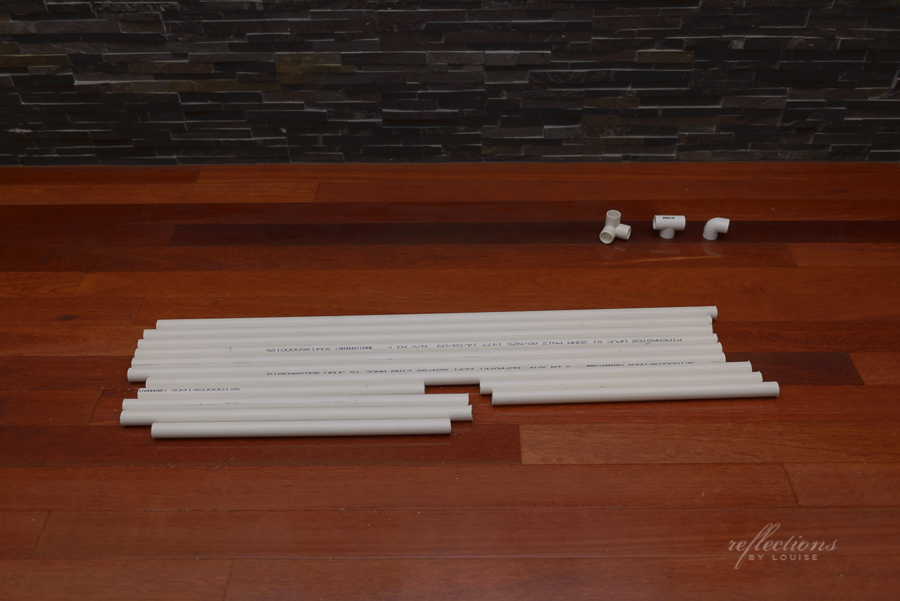
You will need the following lengths: 7 x 112cm 4 x 43cm 2 x 62cm (you can afford to make this a little smaller if you wish)
I suggest the following cuts. This allows a larger piece at the end, in case you make a mistake anywhere.
Pipe 1: 112cm 112cm 62cm
Pipe 2: 112cm 112cm 62cm
Pipe 3: 112cm 112cm 43cm
Pipe 4: 112cm 43cm 43cm 43cm
You will now have a pile of pipes that look like this.
You can then put it all together using the following diagram.
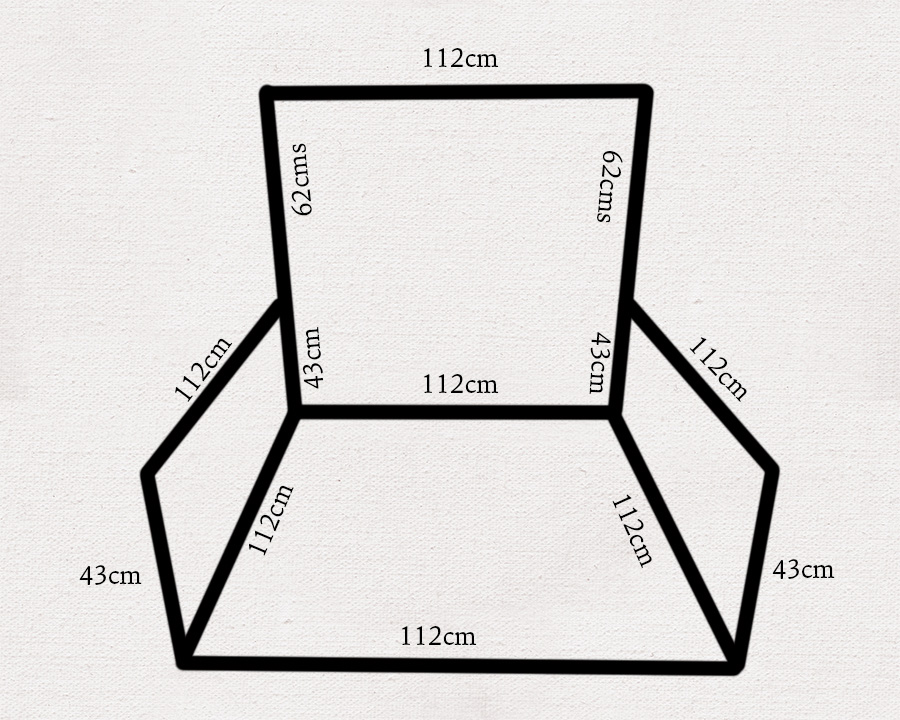
You will now have a backdrop stand that sits neatly over your beanbag.
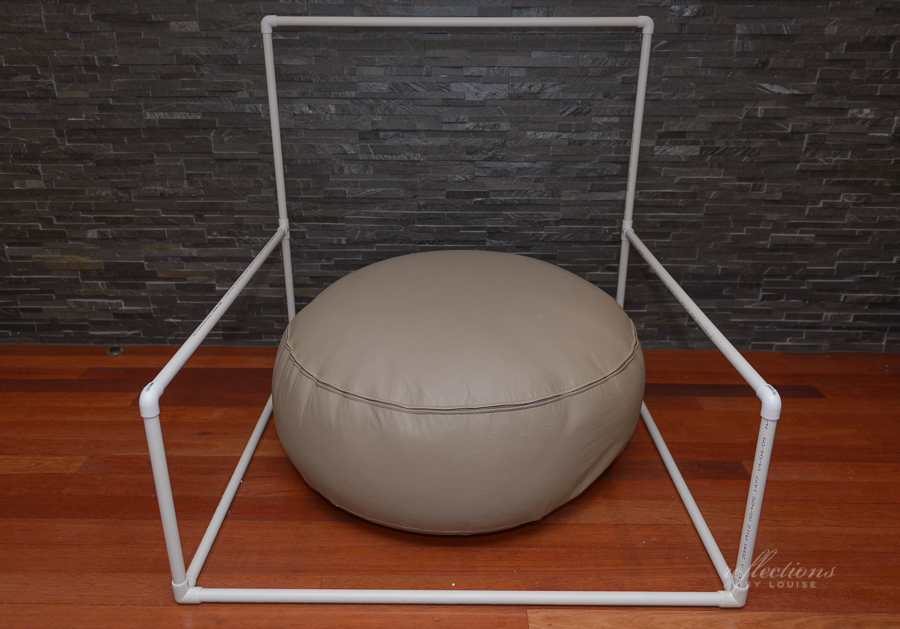
This is a picture that shows a pullback of your new setup.

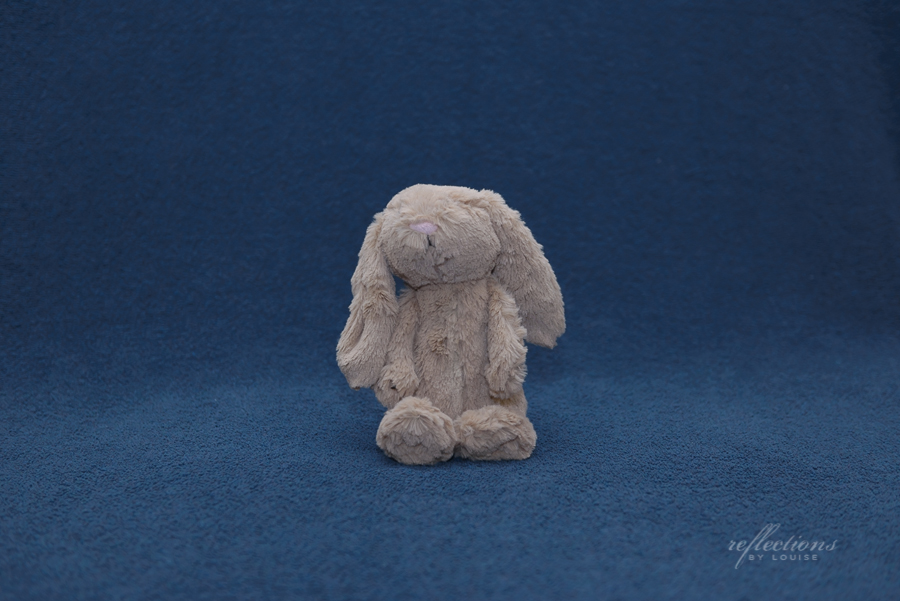
And this is the final result you can expect, the straight out of camera (SOOC) shot of my 'model' on the backdrop. As you can see, there are no wrinkles to photoshop out! Yay.
It took me about 45 minutes to cut this all up and put it together. That will pay for itself very quickly with a reduction in photoshop time. It cost me $41.32. The costs are more than the American equivalent ones I have seen, but alas, we live in the expensive country! If you are on a tight budget, you can reconfigure the bottom with 90 degree and T pieces and have the bottom pieces in from the edge, so you eliminate the need for corner pieces. That will cost $32.88 instead.
I hope this tutorial is useful and I am sure that I will now save a lot of time (and frustration) in photoshop.